7 minutes
Effective Per-Route IP Allow Listing through Tailscale
In the homelab and, to some extent, enterprise community, a key objective is safely exposing certain microservices while keeping others secure, accessible only through a VPN like Tailscale’s mesh VPN. Occasionally, however, you may need to expose a few services publicly.
In this article, we’ll explore how to use Tailscale efficiently to expose your services securely, eliminating the need for external tools like Cloudflare Tunnel.
The Cloudflare Tunnel way
Why Not Rely on Cloudflare Tunnel?
Cloudflare Tunnel has its advantages, but here are a few reasons to be cautious:
- Cloudflared Requirement: Running Cloudflared is necessary, but it’s a closed-source service running 24/7 on your server and Docker network, which raises some concerns in the community.
- Traffic Routing: All traffic is routed through Cloudflare, meaning your data is decrypted, processed by Cloudflare, and then re-encrypted unless you have an enterprise account running Cloudflare Spectrum. This may raise privacy concerns, as traffic isn’t forwarded as-is.
- POST Request Limits: Cloudflare has a known 100MB limit on POST requests, which can affect services that rely on large file uploads. If chunking isn’t implemented via something like Tus, these services might not work properly. While free users get some cache space, uploading files larger than 500MB isn’t feasible.
- Streaming Limitations: Streaming media via Cloudflare, whether through media servers like Jellyfin, Plex, or Nextcloud, violates the terms of service. Your account could be suspended at any time for such usage src.
A Word of Caution: Cloudflare Isn’t a Catch-All Solution
Routing your traffic through Cloudflare doesn’t guarantee complete protection. While it can defend against DDoS attacks and provide basic encryption for public-facing services, it doesn’t inherently secure your internal infrastructure. You still need robust internal security measures, such as access control and proper configuration.
What about Tailscale Funnel?
You might be wondering if Tailscale Funnel could serve as a viable solution. Unfortunately, the answer is no.
Most of the limitations that apply to Cloudflare also extend to Tailscale Funnel. In addition, Tailscale Funnel is a relatively new feature, and it comes with even stricter rate limits compared to CF.
Exposing Services Through VPNs
If you’ve chosen a VPN, especially a mesh VPN solution like Tailscale, you’re enjoying enhanced security, improved access control, and additional features compared to traditional VPN options, which is fantastic..
However, the obvious limitation with VPNs is that to access your services, you must be a peer on the VPN (or a user with ACL permissions in the tailnet). This can be restrictive, especially if you want to migrate from cloud services like Google Photos and share media with friends.
The Concept of Hybrid Infrastructures
To address this limitation, hybrid infrastructures come into play. Your setup might not be fully VPN-based, and a hybrid approach can offer flexibility. One of the most practical methods is defining an IP allow list. There are alternatives, like interface binding, but the setup should make sense to avoid falling back to the limitations of a VPN-only environment without port forwarding.

With this approach, you can maintain secure access to services like service.domain.com for VPN peers while allowing public access to specific paths, like service.domain.com/shared/, without compromising the security of your main services.
For more details, see Tailscale’s documentation on allowlisting here. This method will allow us to define a whitelisted subnet easily.
To implement this, you’ll need a reverse proxy. I use Traefik with its IPAllowList middleware, but you can choose any reverse proxy like Nginx, Caddy, or SWAG and check their documentation for the whitelisting process.
Implementation Steps
-
Set up Split-Horizon DNS: You’ll need containers like Pi-hole or AdGuard Home to create DNS records for your domain. You could opt for lighter approaches, like editing the hosts file. Other options, such as ControlD or NextDNS, can handle DNS rewrites, minimizing SPOF (single point of failure) risks at your home server.
-
Tailscale DNS Configuration: Configure Tailscale’s DNS settings to point to the containers set up in step 1.
-
Reverse Proxy Configuration: Set up your reverse proxy to handle services, routes, and middleware. Add the allowlist for the Tailscale subnet (100.64.0.0/10). Tailscale IPs are usually static, but I wouldn’t recommend whitelisting individual /32 IPs because Tailscale recently announced potential changes involving NAT, which might break your config.
Once everything is configured, access to service routes should pass through the VPN, while attempts to access services from the WAN will result in a 403 Forbidden. However, you may discover that accessing through Tailscale also returns a 403 Forbidden. Why is that?
The Issue: Subnet Router Packet Masquerading

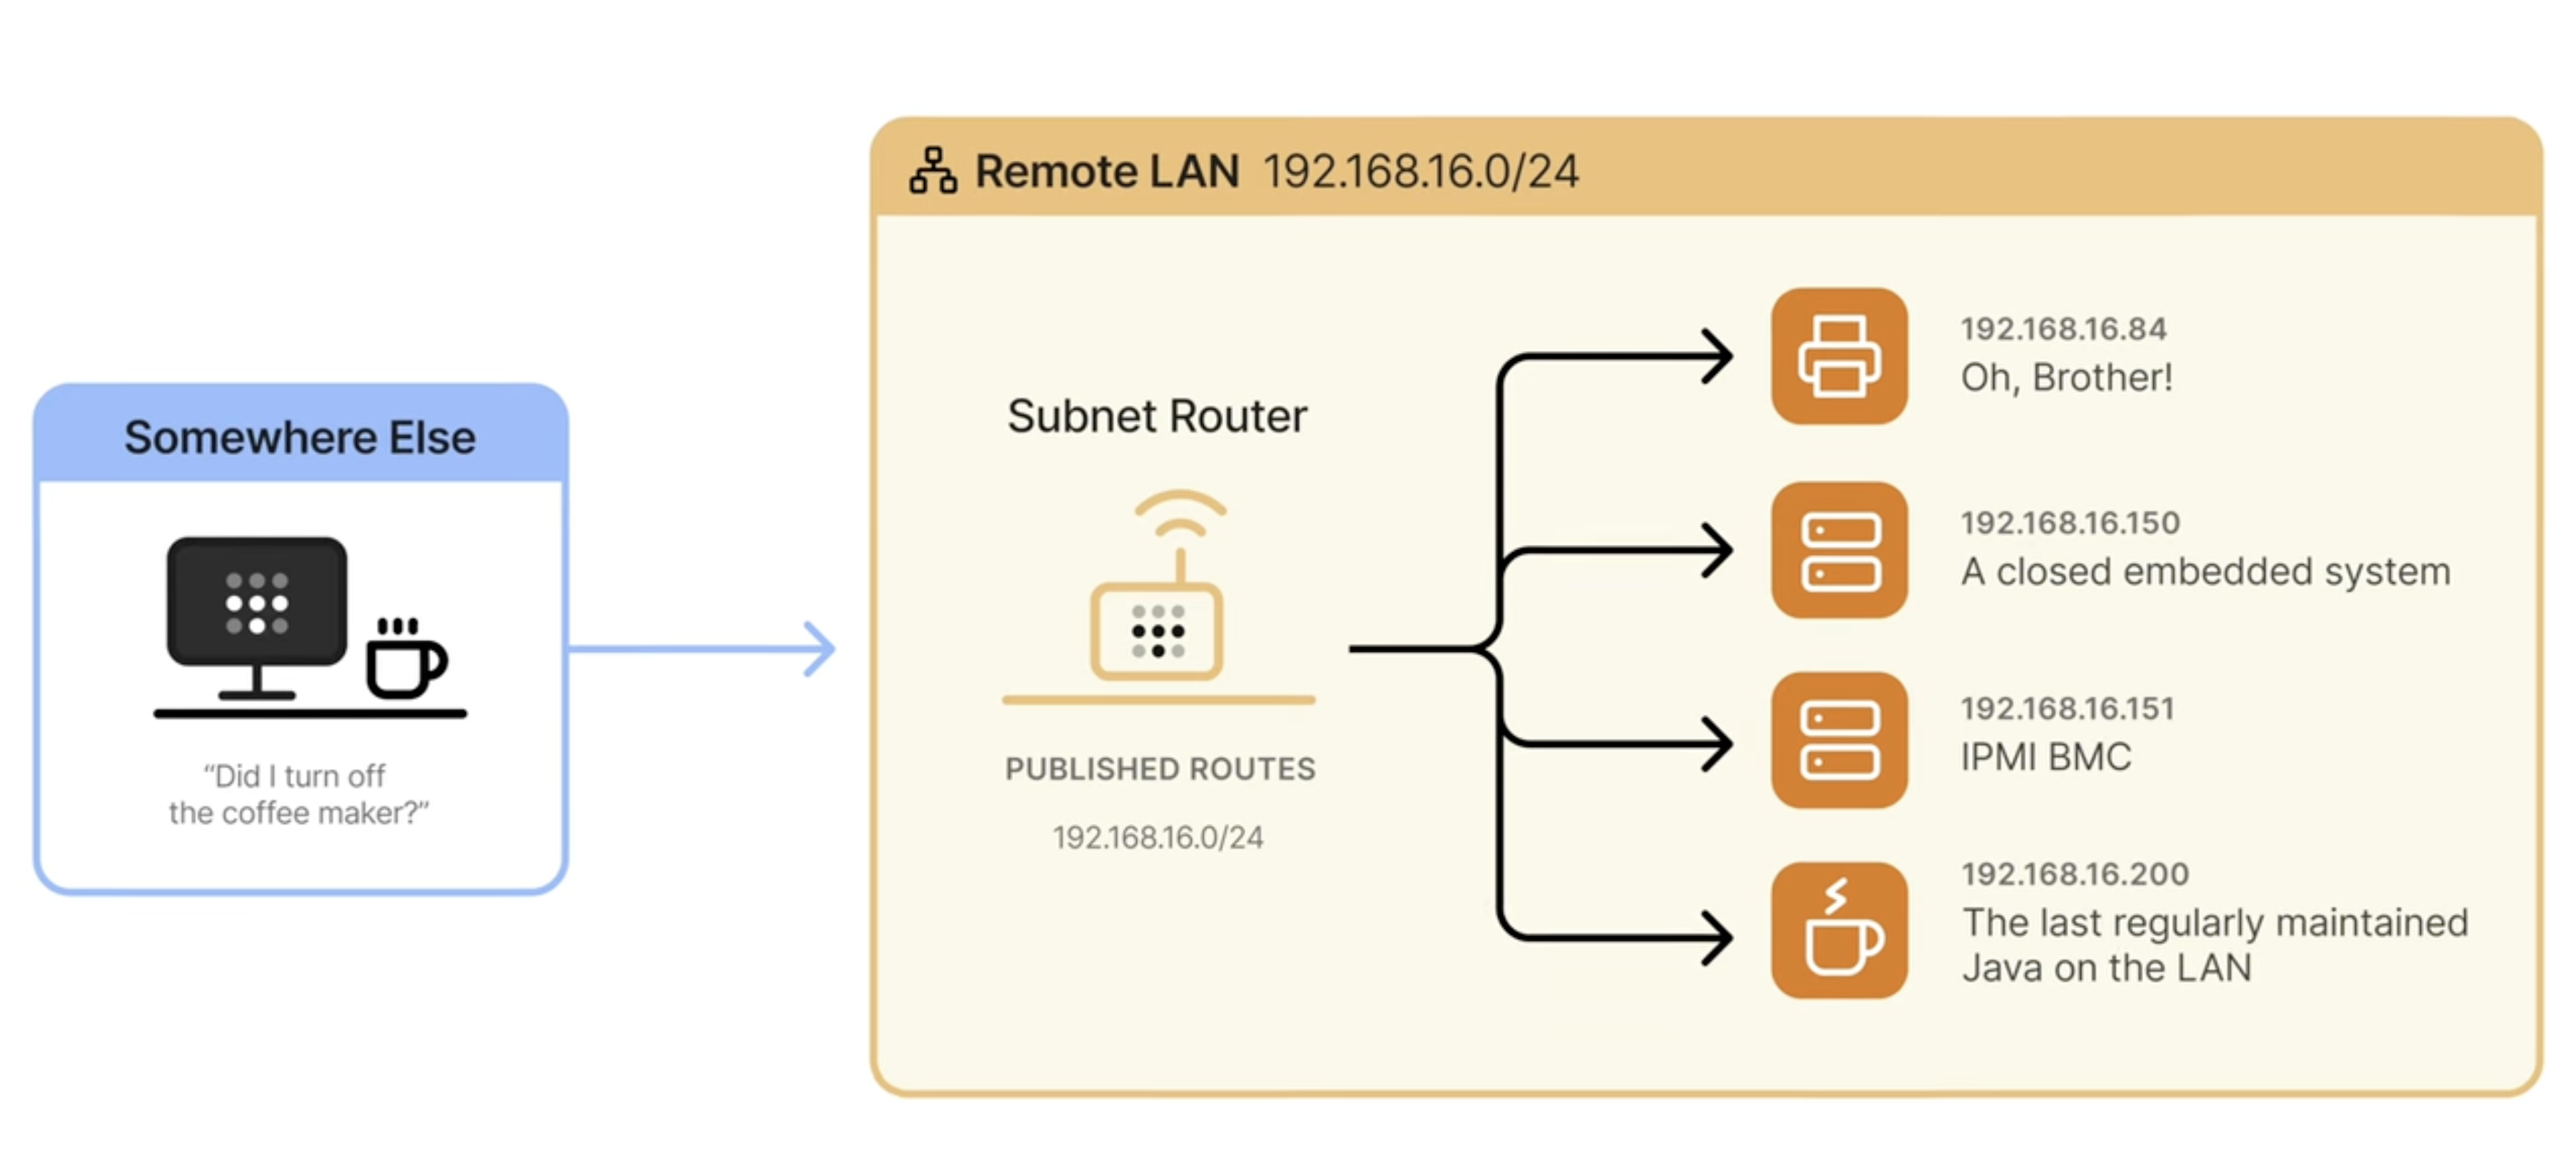
Tailscale allows access to advertised routes via a subnet router, which applies packet masquerading. This means that filtering based on the X-Forwarded-For or X-Real-IP headers won’t work, as the IP will appear as the subnet router’s address.
To demonstrate this, I ran a whoami container, showing why middleware filtering fails:
Hostname: whoami
IP: ####
IP: ####
RemoteAddr: ####
GET / HTTP/1.1
Host: whoami.local.gmichele.com
User-Agent: Mozilla/5.0 (Macintosh; Intel Mac OS X 10_15_7) AppleWebKit/605.1.15 (KHTML, like Gecko) Version/17.4 Safari/605.1.15
Accept: text/html,application/xhtml+xml,application/xml;q=0.9,*/*;q=0.8
Accept-Encoding: gzip, deflate
Accept-Language: en-GB,en;q=0.9
Sec-Fetch-Dest: document
Sec-Fetch-Mode: navigate
Sec-Fetch-Site: none
Upgrade-Insecure-Requests: 1
X-Forwarded-For: 172.50.0.1
X-Forwarded-Host: whoami.local.gmichele.com
X-Forwarded-Port: 443
X-Forwarded-Proto: https
X-Forwarded-Server: ####
X-Real-Ip: 172.50.0.1
The Solution: Disabling Source NAT
Luckily, the solution is straightforward. Tailscale provides a flag that disables source NAT:
tailscale set --snat-subnet-routes=false
This flag, well hidden in the docs, allows the original IP to be preserved, enabling your middleware to filter requests properly.
The –snat-subnet-routes=false flag disables source NAT. By default, a device behind a subnet router sees traffic as originating from the subnet router. This simplifies routing but prevents traversing multiple networks. By disabling source NAT, the end device sees the IP address of the originating device as the source, which might be a Tailscale IP address or an address behind another subnet router.
Hostname: whoami
IP: ####
IP: ####
RemoteAddr: ####
GET / HTTP/1.1
Host: whoami.local.gmichele.com
User-Agent: Mozilla/5.0 (Macintosh; Intel Mac OS X 10_15_7) AppleWebKit/605.1.15 (KHTML, like Gecko) Version/17.4 Safari/605.1.15
Accept: text/html,application/xhtml+xml,application/xml;q=0.9,*/*;q=0.8
Accept-Encoding: gzip, deflate
Accept-Language: en-GB,en;q=0.9
Sec-Fetch-Dest: document
Sec-Fetch-Mode: navigate
Sec-Fetch-Site: none
Upgrade-Insecure-Requests: 1
X-Forwarded-For: 100.X.Y.Z
X-Forwarded-Host: whoami.local.gmichele.com
X-Forwarded-Port: 443
X-Forwarded-Proto: https
X-Forwarded-Server: 5750ff0d8dca
X-Real-Ip: 100.X.Y.Z
We managed to get the actual real ip, and not the subnet router one!
The Second Issue: Routing Tables
While disabling source NAT allows your middleware to filter requests correctly, you’ll find that routes advertised by the subnet router become unreachable since we don’t have any match in the routing table hence only services residing on the subnet router itself remain accessible.
My Proposal: Fine-Grained Masquerading
To solve this, a more elegant solution involves fine-grained masquerading. After inspecting the Tailscale code, which I will link here, I reverse-engineered the relevant logic into an iptables command:
iptables -t nat -A ts-postrouting -m mark --mark 0x40000/0xff0000 -d XXX.XXX.XXX.XXX/32 -j MASQUERADE
you can always revert the added rule with this other command
iptables -t nat -D ts-postrouting -m mark --mark 0x40000/0xff0000 -d XXX.XXX.XXX.XXX/32 -j MASQUERADE
Replace XXX.XXX.XXX.XXX with your device’s IP address. This rule ensures that only specific devices bypass masquerading, preserving functionality while keeping security intact. Remember, iptables rules don’t persist after a reboot, so ensure they’re re-applied at boot.
Final Result
We’ve successfully implemented Tailscale IP filtering while preserving its core functionalities. You can now whitelist certain routes while allowing public access to others, replicating features from cloud services like Google Photos.
An example of alternative approach
This section is quite linked to the Why this article, I came by with an user that had my same idea but a way different solution.
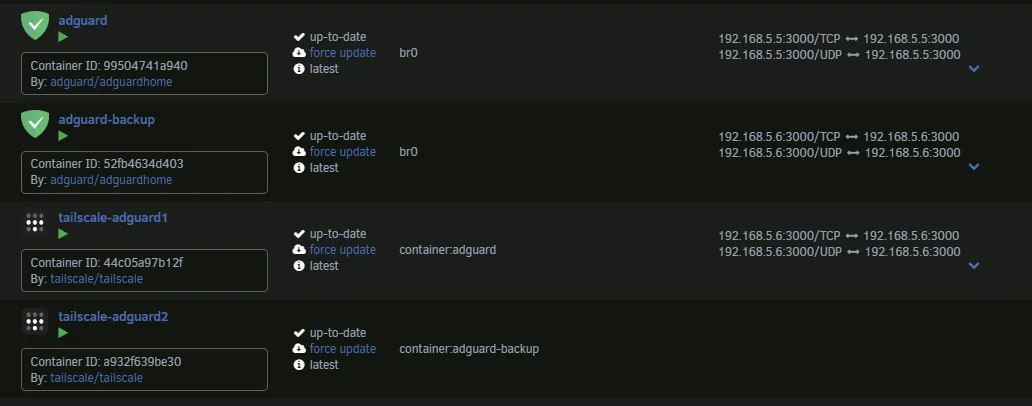
Here each container advertises routes with full masquerading enabled, restoring routing functionality. While this method works, it’s more complex and can (does) introduce potential issues.
In this way the same physical device has 3 listings in the tailnet (one real and two “virtual” ones) where the virtual ones are actually advertising the before unreachable routes

There are many other solutions and I just wanted to report this one since is the one that made me write this article.
Why This Article?
With the rise of self-hosted media management solutions, many new users have entered the self-hosting world. Not all are familiar with security best practices, which is why I wanted to share this procedure, actually, tailscale whitelisting remains a hot topic, even among advanced users.
Disclaimer: This content is for informational purposes only. Exposing servers to the internet is inherently risky, and this article addresses only a small part of those risks. Always research thoroughly before proceeding with any technical implementation.